This post is more like a note for myself about how I set up a local SQL server on the MacBook. If you happened to have the same need, and the steps are not detailed enough, please leave a comment or shoot me an email. Glad to help.
1.Environment Setup
a. Register a Docker Account and Install Docker to your MacBook
Docker ![]() will be the critical tool we need. Register a Docker account at: https://www.docker.com/, a free account will be sufficient.
will be the critical tool we need. Register a Docker account at: https://www.docker.com/, a free account will be sufficient.
b. Download & Install Docker to your Macbook
Download the latest version of Docker at the following location: ttps://store.docker.com/editions/community/docker-ce-desktop-mac, and install it on your MacBook. Please make sure you grant it the proper system access it requests.
2. Run Terminal
Once Docker has been successfully installed, that will be all we need from the Docker app for now. Open Terminal on your MacBook.
a. Install Microsoft SQL Server Docker Container
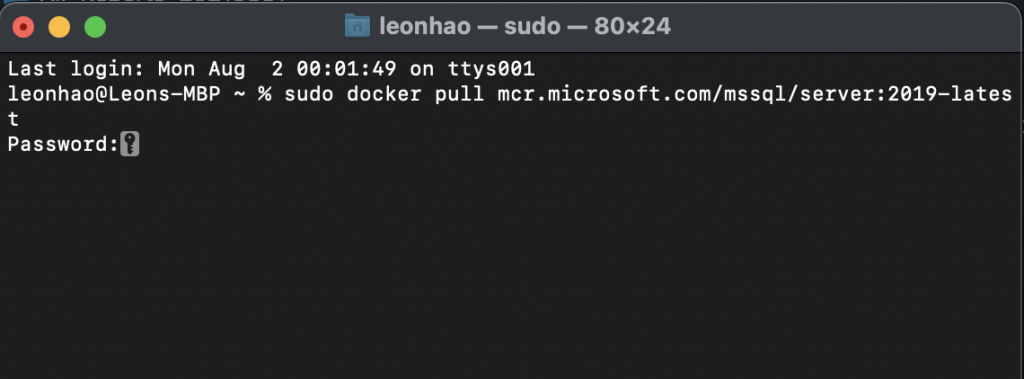
In your Terminal console, run the following command to install the Microsoft SQL Server 2019 Docker container to your laptop.
sudo docker pull mcr.microsoft.com/mssql/server:2019-latestThe Terminal will request you enter your MacBook password, while you are entering it, the password is not visible.
b. Create a Microsoft SQL Server on your local drive
Once the MS SQL Server container is successfully installed, we can proceed to the next step to create a SQL Server by using the following command in the Termninal. Before you hit the enter button, don’t forget to put your SQL Server Account password and server name in the command(the <Password> and <Server_Name> part in the command line).
sudo docker run -e 'ACCEPT_EULA=Y' -e 'MSSQL_SA_PASSWORD=<Password> -p 1401:1433 --name <Server_Name> -d mcr.microsoft.com/mssql/server:2019-latestAfter executing the command, you will have the SQL server created.
c. Review the SQL server information
Type the following command in the Terminal to retrieve the information of SQL Server we just created.
docker ps -aYou should see something similar like this:

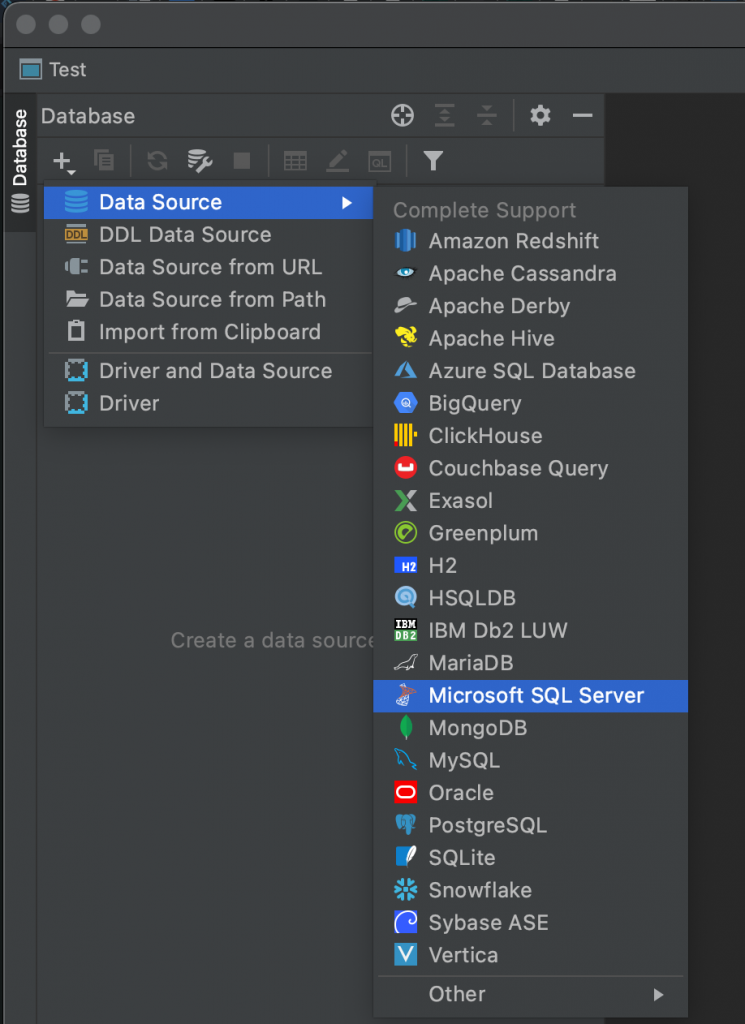
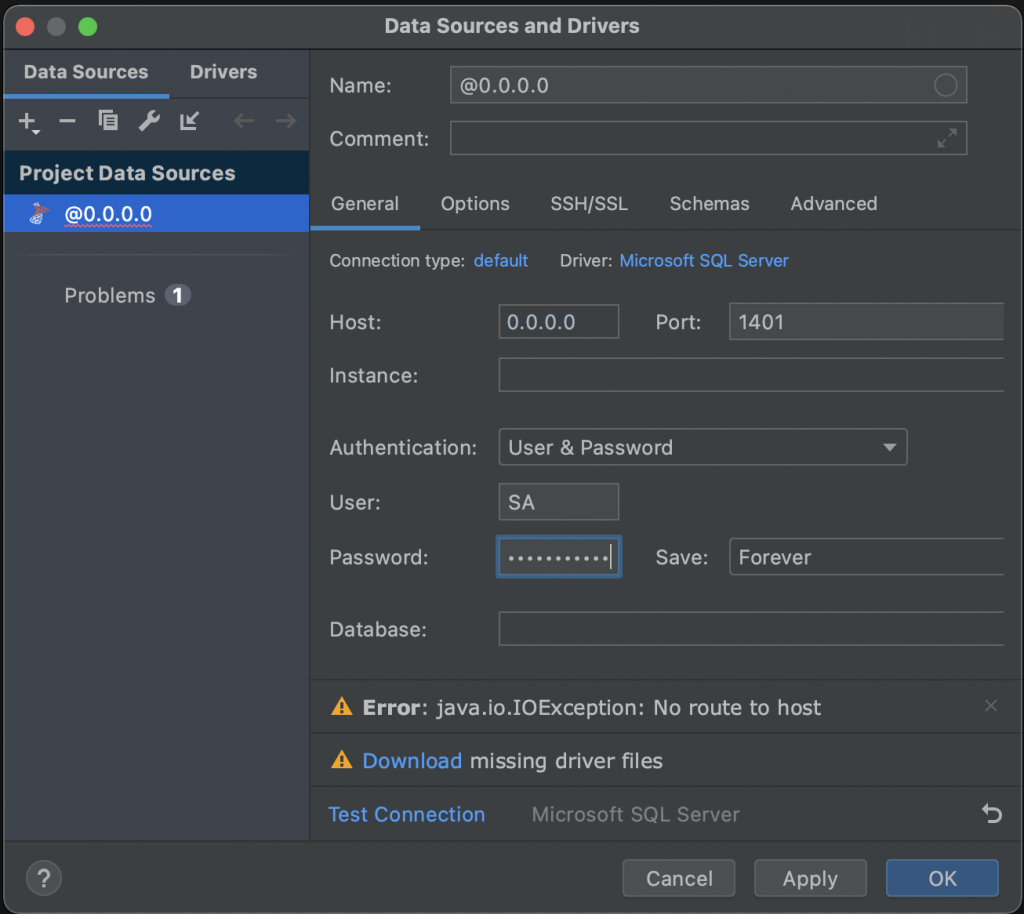
3. Test the SQL Server
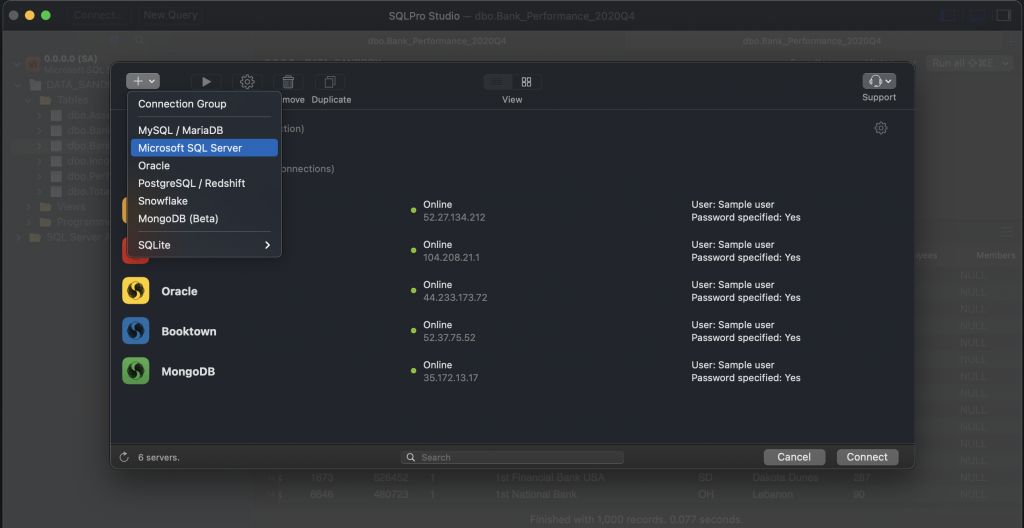
Now we can use the MS SQL tool to test the server out. Since SSMS doesn’t have an OS version, you can use DataGrip, SQLPro Studio, or any other SQL tool to test the server. I will use SQLPro Studio and DataGrip as examples, but this should be the same as your daily connecting to the SQL server.
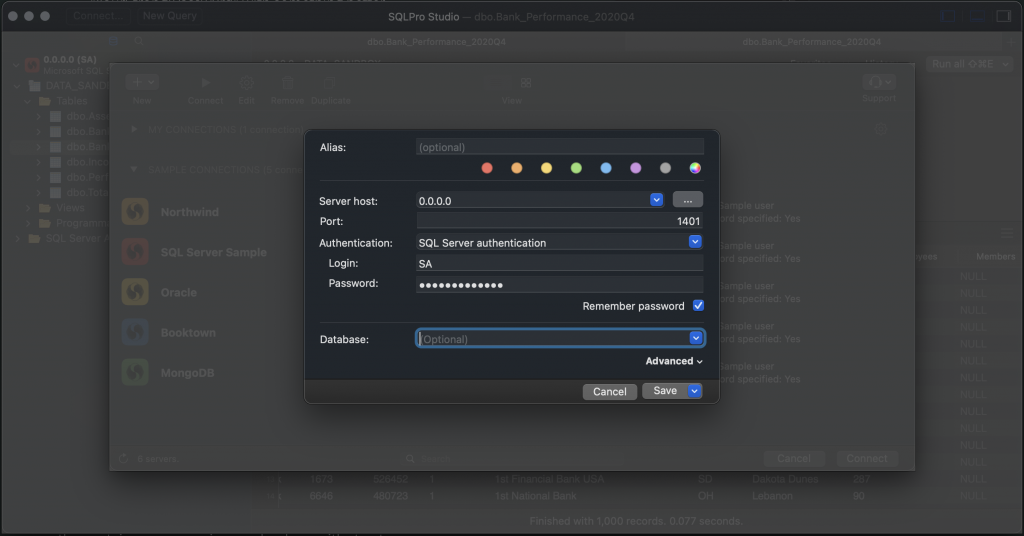
All you need to fill out are:
Server host: 0.0.0.0
Port: 1401
Login: SA (by default)
Password: the password you set in the command line earlier
SQLPro Studio:
DataGrip:
You are all set! Enjoy your local SQL Server and have fun with data!